New tools are useful only when the idea is clear.
Animation, motion graphics, VFX, and AI-assisted production can help explain what live action cannot, but they work best when the message, style, accuracy needs, and approval path are clear.
Animation
Learn a practical After Effects technique to build an easy, customizable item carousel using null objects—no plugins needed. Perfect for logos, icons, and photos.
 Written byTrey GregoryPartner, Director of Photography & Animator
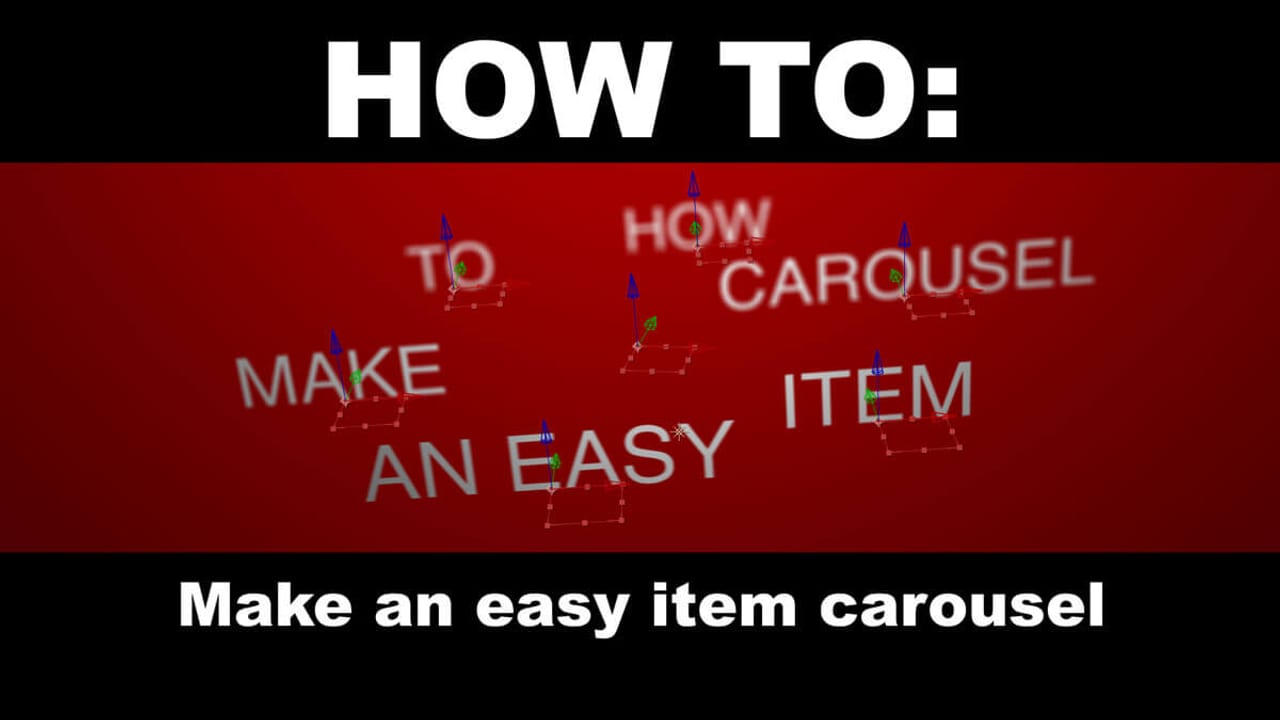
Animation
Motion, animation, and visual storytelling context for clearer communication.
Motion Context
Animation, VFX, and motion graphics are strongest when they make an idea easier to understand, remember, or approve. The style matters, but the communication problem comes first.
Animation, motion graphics, VFX, and AI-assisted production can help explain what live action cannot, but they work best when the message, style, accuracy needs, and approval path are clear.
Motion is useful when it makes the idea easier to understand, easier to remember, or easier to approve, instead of simply making the page feel busier.
A better motion conversation includes brand assets, visual references, technical accuracy requirements, runtime, platform specs, and examples that define what belongs outside the look.
Article
Learn a practical After Effects technique to build an easy, customizable item carousel using null objects—no plugins needed. Perfect for logos, icons, and photos.
This article helps video producers and motion designers decide how to efficiently create a rotating item carousel animation in After Effects without extra plugins.
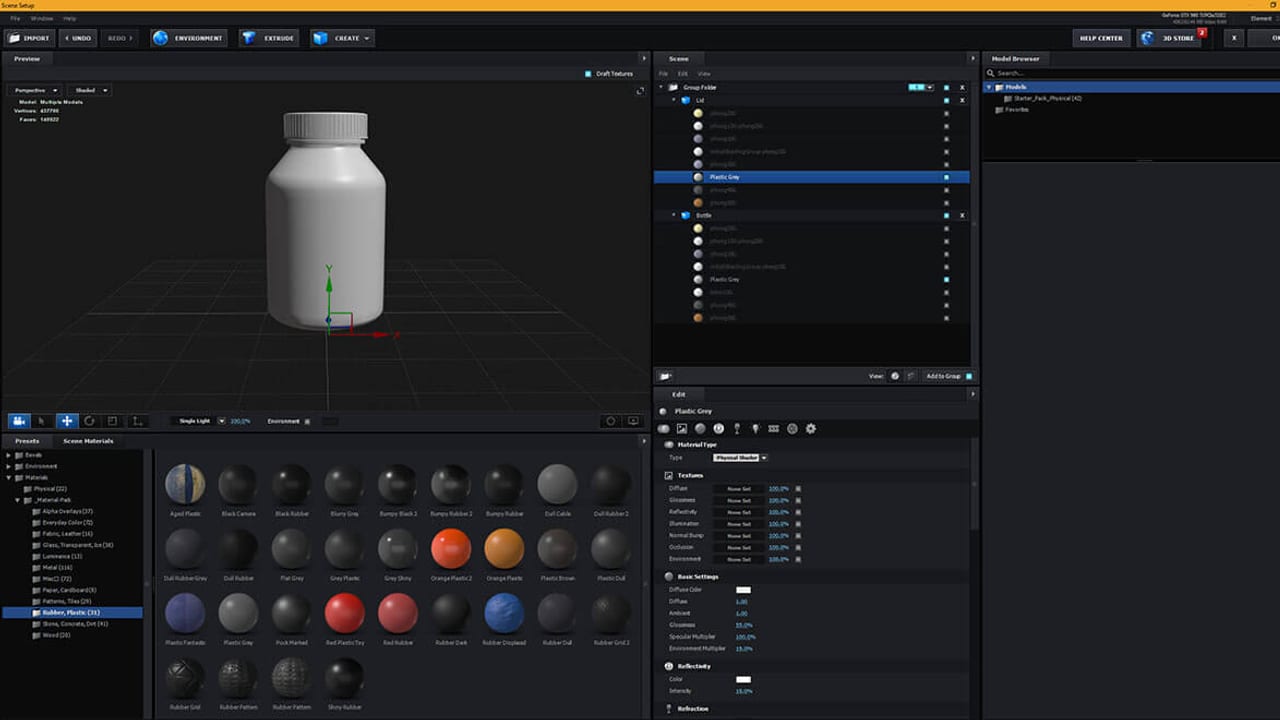
An item carousel is a classic motion design tool to showcase multiple elements—logos, icons, photos—in a dynamic, engaging way. It’s especially useful for brand presentations, explainer videos, and product demos where you want to highlight several items without overwhelming the viewer. The carousel format keeps the audience’s focus moving smoothly and evenly, making complex information more digestible.
Start by creating a new composition with a square aspect ratio—2,000 by 2,000 pixels is a good baseline for flexibility. Set your frame rate (24fps is standard) and duration (10 seconds works well for looping). Naming your layers clearly from the start is key to staying organized, especially when working with multiple null objects and parented layers.
The core of this technique is using a central null object as the rotation pivot. Create a null at the center of your comp and name it "Center Null." Next, create one null object for each item you want in your carousel—six is a common choice. Position the first null upward from the center null (around 500 pixels), then duplicate it to create the rest. The trick is to space them evenly by dividing 360° by the number of items (360/6 = 60° spacing).
To maintain each item’s upright orientation while rotating around the center, use a simple rotation expression on each node: link the node’s rotation to the center null’s rotation with a negative sign to invert it. Then, offset each node’s rotation by multiples of your angle spacing (60°, 120°, 180°, etc.). This ensures all items stay facing forward as the carousel spins. Parenting all nodes to the center null lets you animate rotation globally by keyframing just one layer.
Once your carousel rig is set up, you can parent any visual element—logos, text, 3D layers—to the nodes. This modular approach means you can swap out assets quickly without rebuilding the animation. Adjust the radius by repositioning the nodes, or change the number of items by duplicating or deleting nodes and recalculating the angle spacing. This flexibility makes the carousel technique a versatile staple for explainer videos, brand showcases, and interactive presentations.
No plugins are required. This carousel uses only built-in After Effects features like null objects, parenting, and simple rotation expressions.
Yes. The setup works in both 2D and 3D compositions, allowing you to parent 3D layers or cameras to your carousel nodes for more dynamic animations.
Change the number of null nodes to match your desired item count, then divide 360° by that number to calculate the spacing angle for rotation offsets.
The useful takeaway is how audience, creative direction, production choices, post-production, approvals, and delivery needs shape the final video plan.
Start with the goal, audience, deadline, where the finished piece needs to live, and the practical constraints that will affect creative and production decisions.
ECG can help connect the creative idea to production planning, filming, post-production, versioning, and delivery so the finished work fits the channel and the audience.
Related ECG Portfolio Video
Use P&G for the HBCYou as an ECG-produced reference for How to Create a Smooth Item Carousel in After Effects: Step-by-Step Animation Guide. Compare the audience, tone, distribution plan, and production choices before turning the article into a creative brief.
Vimeo
A P&G and TheGrio back-to-school campaign celebrating Black families, HBCU pride, and the trusted products that move through everyday family life. ECG developed and produced a 30-second hero spot plus 14 brand-specific commercials for broadcast, social, and live-event screens.
Visual Context
Articles perform better when readers can see what the thinking points toward. This visual break connects the topic to ECG production, post-production, real examples, and the next practical decision instead of leaving the page as a long read with no visual rhythm.
See related workArticle FAQ
These answers add practical context for the decisions that usually sit behind animation work: scope, timing, creative direction, production approach, and what the finished piece needs to accomplish.
No plugins are required. This carousel uses only built-in After Effects features like null objects, parenting, and simple rotation expressions.
Yes. The setup works in both 2D and 3D compositions, allowing you to parent 3D layers or cameras to your carousel nodes for more dynamic animations.
Change the number of null nodes to match your desired item count, then divide 360° by that number to calculate the spacing angle for rotation offsets.
The useful takeaway is how audience, creative direction, production choices, post-production, approvals, and delivery needs shape the final video plan.
Start with the goal, audience, deadline, where the finished piece needs to live, and the practical constraints that will affect creative and production decisions.
ECG can help connect the creative idea to production planning, filming, post-production, versioning, and delivery so the finished work fits the channel and the audience.
Next Step
When an article sounds like your project, compare the relevant service path and nearby work before you make a production decision.
Read Next
Animation
Animation
How After Effects Tutorial: Dynamic 3D Outlines can make complex ideas clearer, more memorable, and easier for the audience to follow.
Read article
Animation
Animation
How Animation and Graphic Design Tools #2 - After Effects Plugins can make complex ideas clearer, more memorable, and easier for the audience to follow.
Read article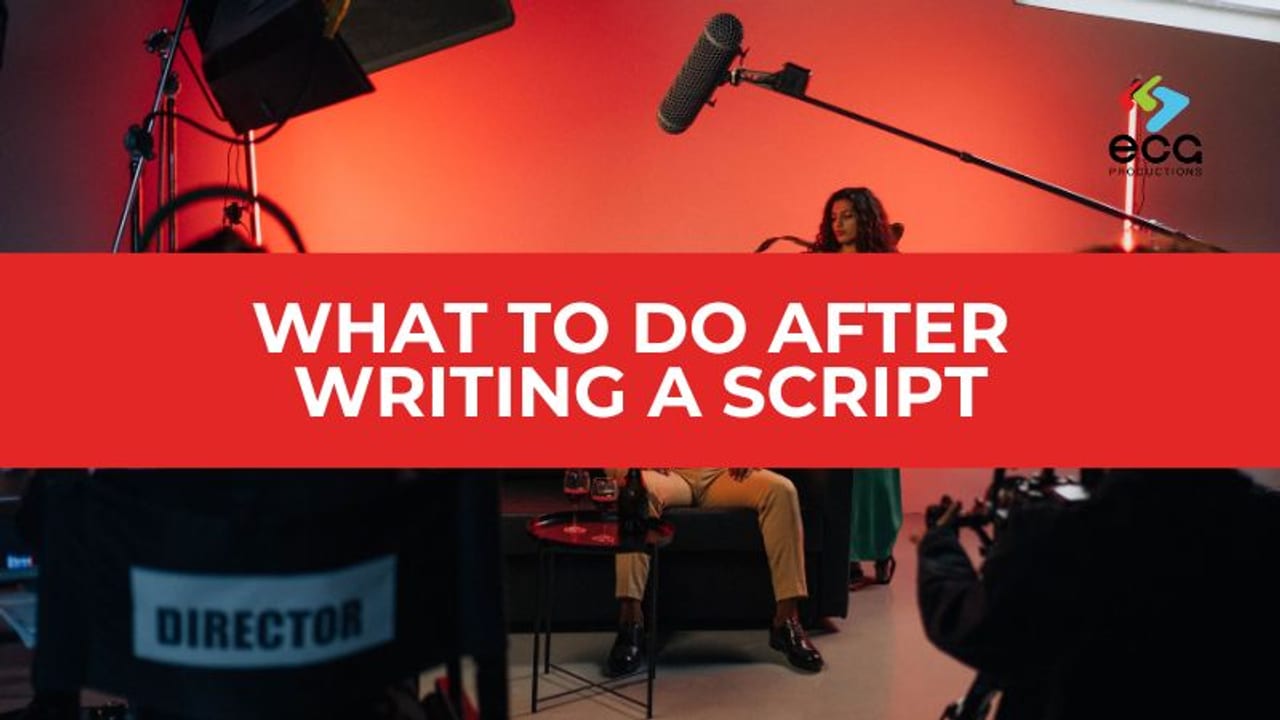
Strategy
Strategy
What to Do After Writing a Script: A No-Fluff Guide for Filmmakers is a strategy read for teams deciding who the video needs to reach, what it needs to say, where it will live, and what has to be clear before production dollars move.
Read article
Production
Production
How to Make a TV Commercial That Stands Out | Strategy + Creative Tips is a production read about what needs to be planned, captured, protected, and handed to post so the finished piece has a real chance to work.
Read article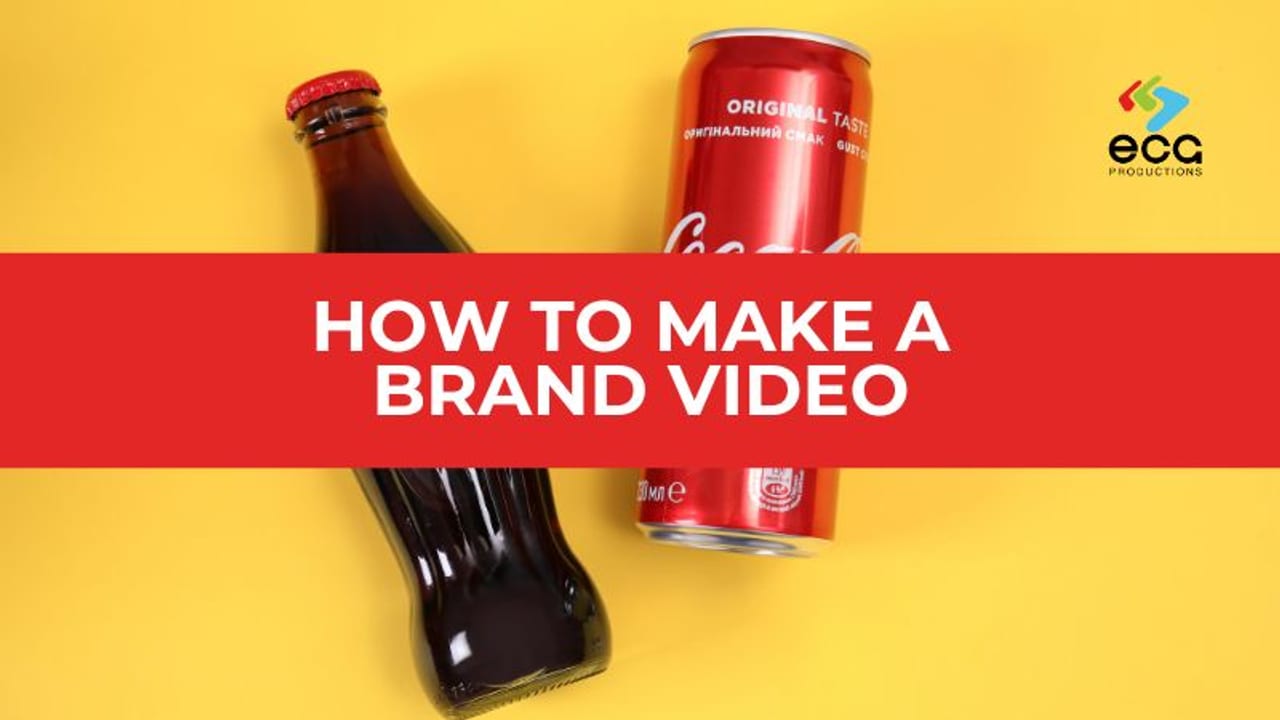
Business
Business
How To Make A Brand Video shapes the budget conversation: the scope drivers to understand, the risks to plan around, and the decisions worth making before production starts.
Read article
Business
Business
How To Make A Training Video shapes the budget conversation: the scope drivers to understand, the risks to plan around, and the decisions worth making before production starts.
Read articleKeep Exploring
Related services, examples, and deeper reads add context around the creative choices, production decisions, and tradeoffs behind this topic.
Services
These service paths show where the production, post, animation, or package conversation usually goes next.
Service
AI video creation support for teams that want to use generative tools responsibly without sacrificing strategy, production judgment, brand trust, or visual quality.
Open pageService
Event video production for teams that need the story, energy, speakers, audience, and proof of a live moment captured for people who were not in the room.
Open pageService
2D Infographic Animation from ECG Productions helps make brands, data, products, and complex ideas easier to understand through motion.
Open pageService
3D Logo Animation from ECG Productions helps make brands, data, products, and complex ideas easier to understand through motion.
Open pageWork
These examples show what the service, article, or category can look like in finished work.
Branded Content
Hello My Name Is… | A Musical Exploration is story-led brand work, which means the finished piece has to show more than polish. The important read is how the brand,...
Open page2D and 3D Animation
The Arthur M. Blank Hospital: Amazing News From CHOA shows how designed motion can make an idea clearer, more memorable, and easier to follow. It helps teams compare...
Open pageBranded Content
Wyclef Jean and more Talent | Hello My Name Is… Episode 6 is story-led brand work, which means the finished piece has to show more than polish. The important read is...
Open pageRelated articles
These pieces add context around process, budget, creative choices, common mistakes, and what to ask next.
Production
Practical Science Fiction Effects are Timeless When Done Well is a production read about what needs to be planned, captured, protected, and handed to post so the fin...
Open pageLearning
Animation helps explain the invisible, repeat the complex, and make training easier to retain.
Open pageStrategy
Animation vs Live Action | How to Choose the Right Format for Your Video is a strategy read for teams deciding who the video needs to reach, what it needs to say, wh...
Open pageBusiness
Data Safety: Keeping Your Sensitive Info Safe shapes the budget conversation: the scope drivers to understand, the risks to plan around, and the decisions worth maki...
Open pageNext step
When this starts to sound like your situation, bring ECG the goal and the constraints.
Share This Article
Share the article, project, or service page with a teammate, client, producer, or stakeholder who needs the context before the next decision.