Learn practical steps to rig the BMPC 4K for run & gun shooting, optimizing stability, power, and lens choices for better handheld production.
This article helps video producers decide how to rig the BMPC 4K camera efficiently for run & gun shooting to maximize mobility and image quality.
Why the BMPC 4K Needs a Custom Run & Gun Rig
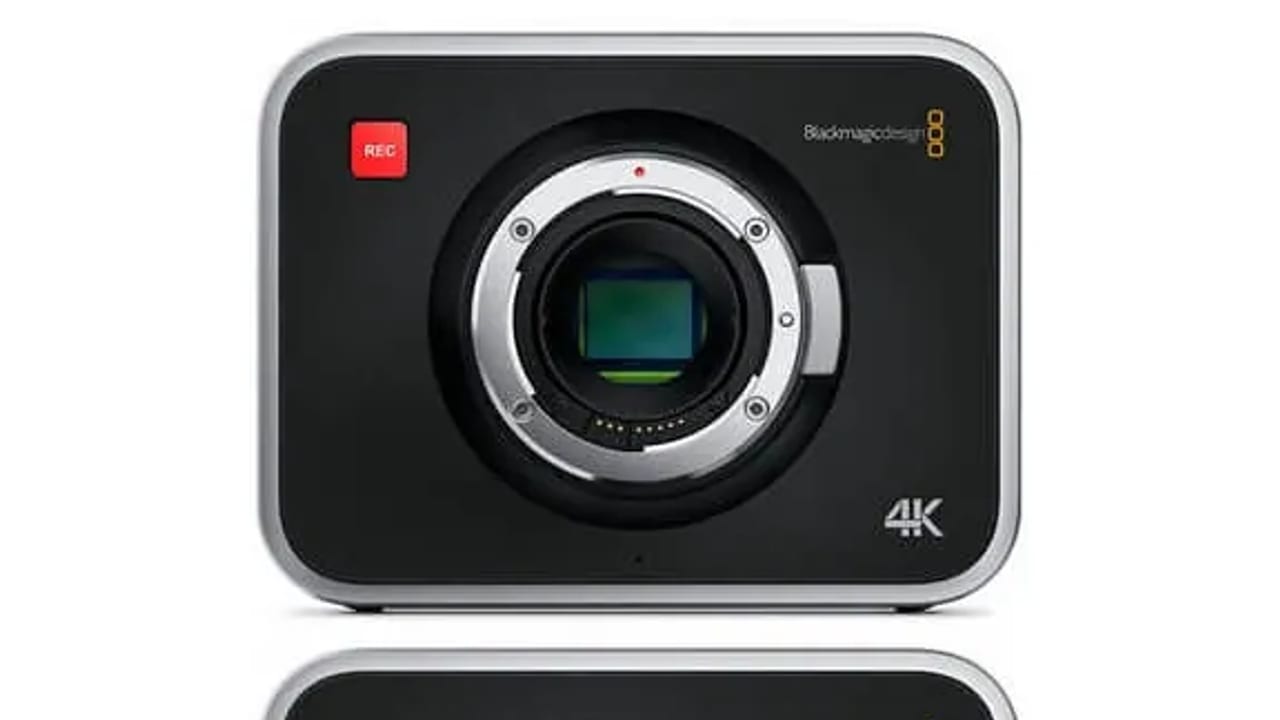
The Blackmagic Pocket Cinema Camera 4K (BMPC 4K) is a powerful tool but not inherently designed for handheld run & gun shooting. Its modular form factor and limited battery life mean it requires a thoughtfully built rig to stabilize the camera, extend shooting time, and support essential accessories. Without a rig, handheld shooting quickly becomes exhausting and unstable, resulting in shaky footage and frequent interruptions. Building a rig tailored to your production needs transforms the BMPC 4K into a versatile run & gun camera, especially in well-lit environments.
Choosing the Right Frame for Stability and Comfort
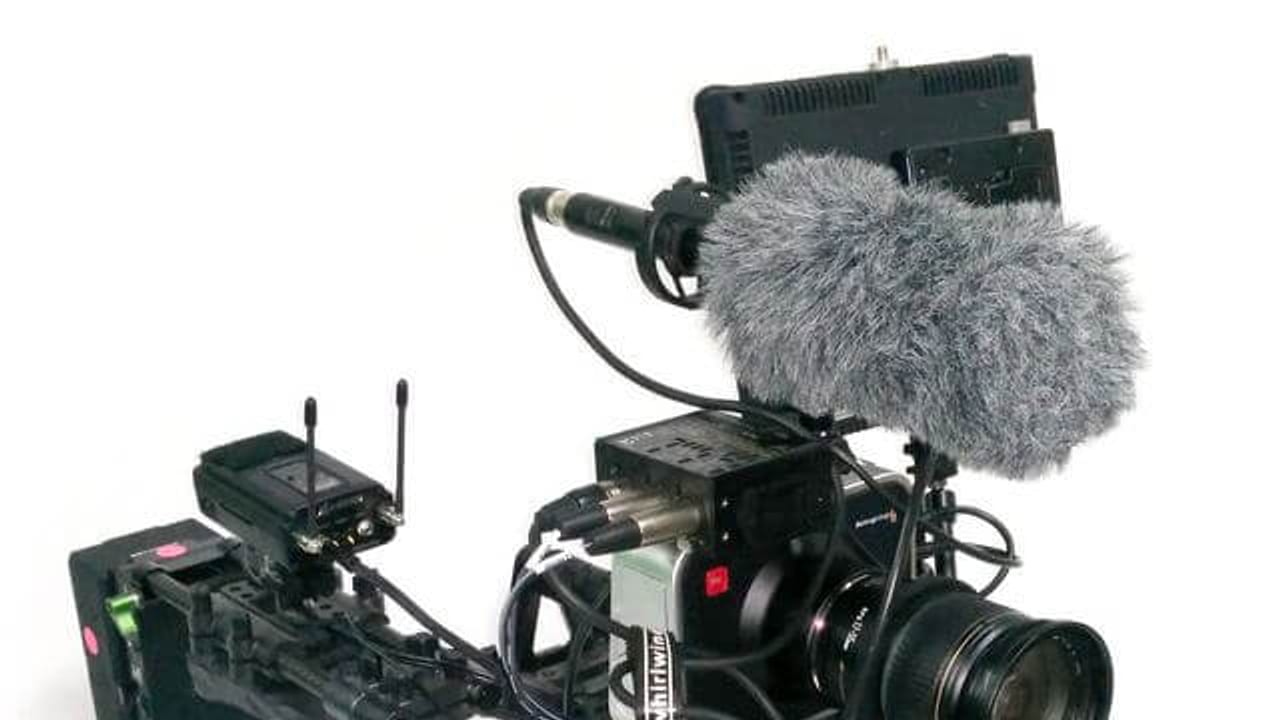
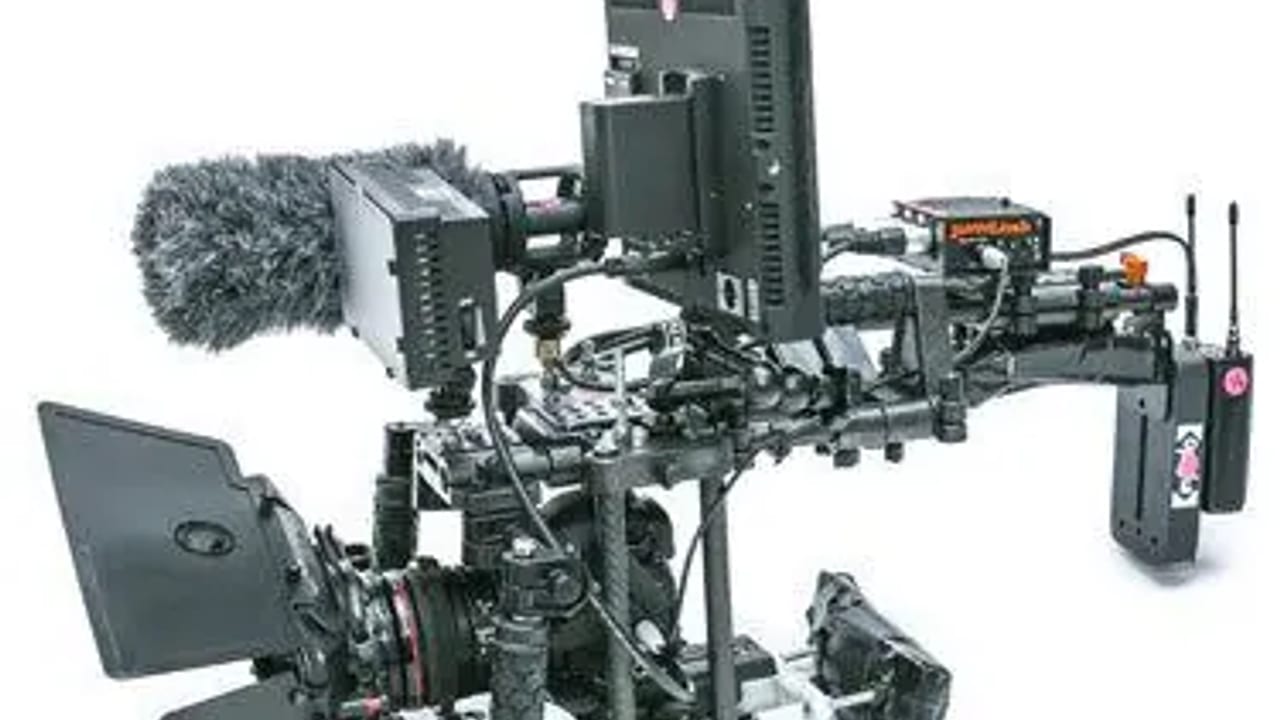
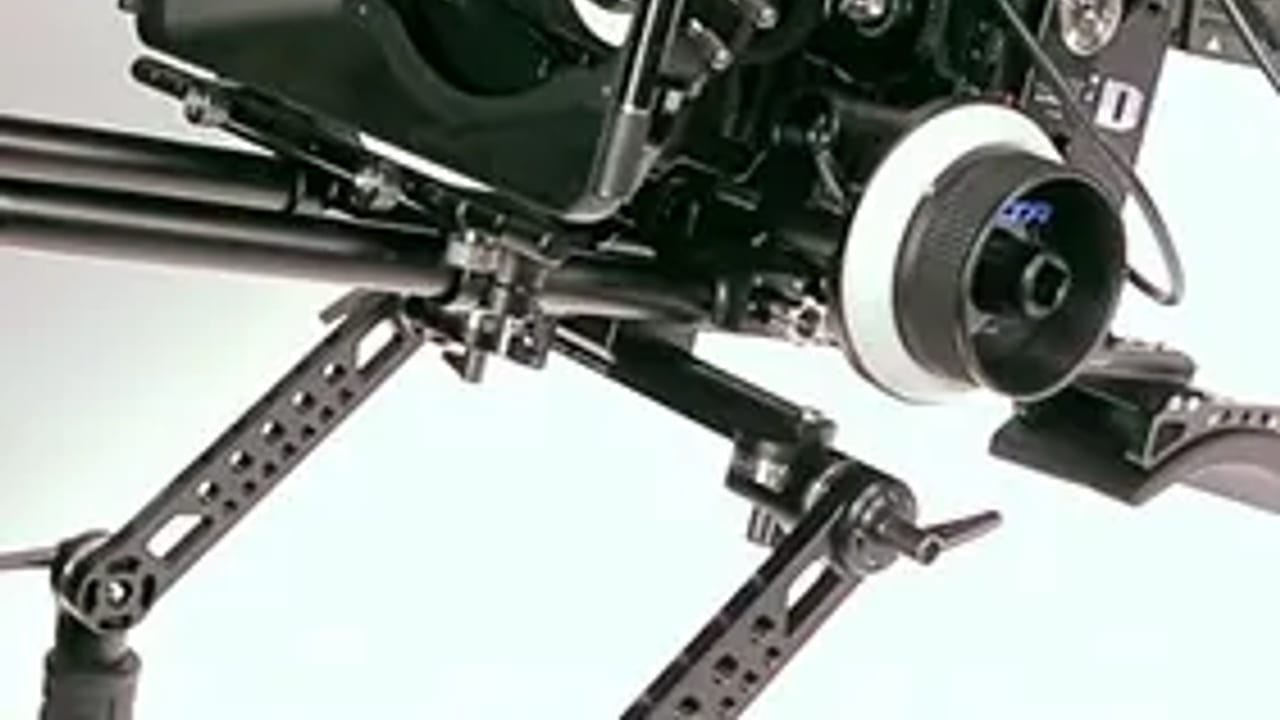
A solid rig frame is the foundation of any run & gun setup. For the BMPC 4K, look for a lightweight, rigid frame that distributes weight evenly and offers multiple mounting points for accessories like monitors, microphones, and power solutions. Carbon fiber rod-based rigs, such as those from CPM Camera Rigs, provide a strong yet lightweight skeleton. Tool-less designs with thumbscrews speed up assembly and adjustments on set. Ergonomics matter: the rig should feel balanced on your shoulder or handheld, reducing fatigue during long shoots.
Extending Battery Life with External Power Solutions
The BMPC 4K’s internal battery lasts about an hour and is non-removable, limiting continuous run & gun use. The solution is an external power supply adapter that connects to professional V-mount or Anton Bauer batteries. These adapters convert battery power to the camera’s required 12V input, enabling 4+ hours of shooting depending on battery capacity and accessory load. When selecting batteries, consider FAA regulations if you travel by air—batteries over 100Wh require special handling. Models like the ikan 190Wh split battery or Switronix 90Wh offer flexibility and long runtime.
Lens Choices to Combat Low-Light Challenges
Despite its 4K sensor, the BMPC 4K struggles in low light compared to similar Super 35 cameras. To maximize image quality in run & gun scenarios, prioritize lenses with fast, constant apertures of f/2.8 or wider. Two standout options are the Canon EF-S 17-55mm f/2.8 and the Sigma 18-35mm f/1.8. These lenses maintain consistent exposure through zoom ranges and deliver sharp, bright images, crucial when lighting conditions change rapidly. Pairing the BMPC 4K with these lenses helps mitigate its low-light weaknesses and keeps your footage crisp and usable.
Integrating Accessories for a Complete Run & Gun Setup
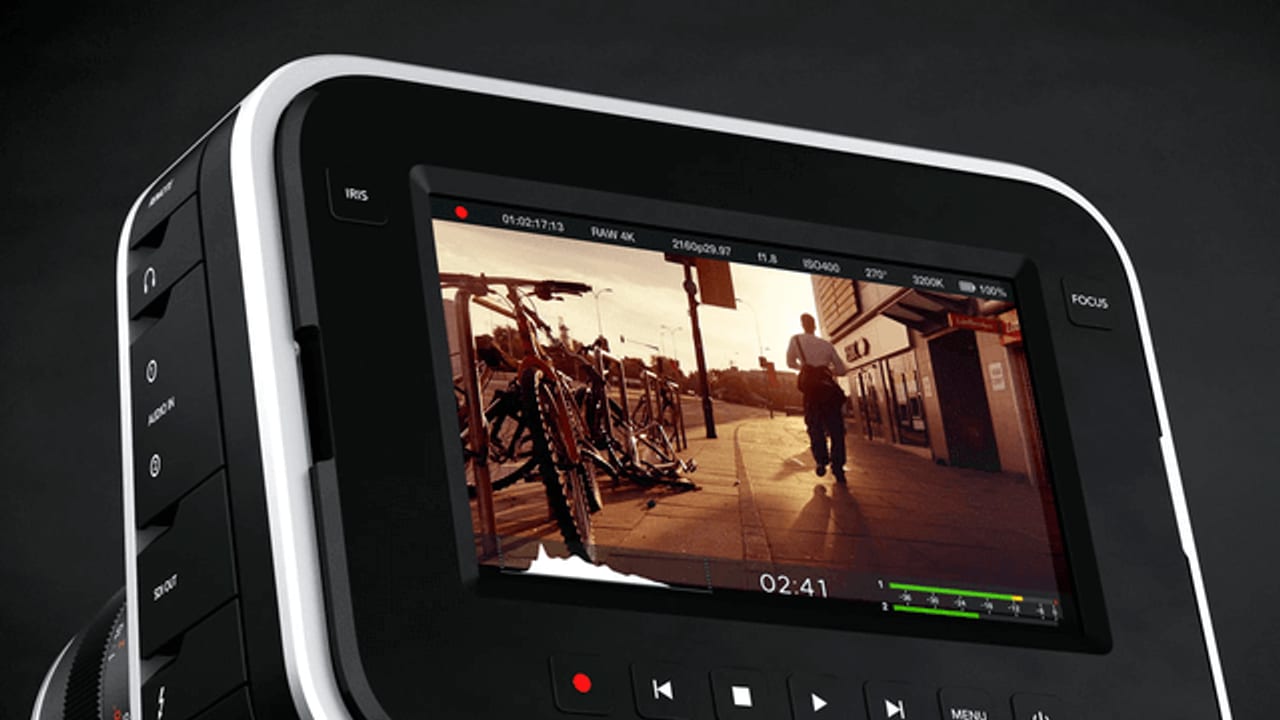
Beyond frame, power, and lens, a run & gun rig benefits from carefully selected accessories. A quick-release plate simplifies mounting and dismounting the camera. Adding a lightweight field monitor improves framing and focus accuracy on the move. Consider compact audio solutions like shotgun microphones or wireless lavaliers to capture clean sound without bulky setups. Cable management is essential to prevent snagging during handheld moves. Each component should add clear value—avoid dead weight that slows you down or complicates your workflow.
FAQ
Can the BMPC 4K be used handheld without a rig?
While possible, handheld shooting without a rig often leads to unstable, shaky footage and quickly tires the operator due to the camera’s shape and weight distribution. A rig improves stability and comfort.
What battery options work best for extended BMPC 4K shoots?
External V-mount or Anton Bauer batteries paired with a power supply adapter provide the best extended runtime. Batteries around 90-160Wh balance capacity and travel compliance.
Which lenses are recommended for run & gun shooting with the BMPC 4K?
Fast, constant aperture lenses like the Canon EF-S 17-55mm f/2.8 and Sigma 18-35mm f/1.8 are ideal, offering sharp images and reliable exposure in varying light.
What should a team understand about Dramatic Tutorial - Building a Run & Gun Rig for the BMPC 4K?
The useful takeaway is how audience, creative direction, production choices, post-production, approvals, and delivery needs shape the final video plan.
Where should this kind of project start?
Start with the goal, audience, deadline, where the finished piece needs to live, and the practical constraints that will affect creative and production decisions.
How can ECG help with the next step?
ECG can help connect the creative idea to production planning, filming, post-production, versioning, and delivery so the finished work fits the channel and the audience.