Discover the must-have equipment and practical tips for recording clear, high-quality voice-overs. From microphones to acoustic treatment, learn how to plan and execute a smooth
Help readers decide what gear and setup are essential to capture professional voice-over audio that works seamlessly through post-production and delivery.
Why Choosing the Right Voice-Over Gear Matters
Recording a voice-over isn’t just about hitting the record button. The gear you select directly impacts the clarity, tone, and overall quality of your audio — which in turn affects every stage from editing to final delivery. A well-planned setup reduces time spent fixing issues in post and ensures your voice-over fits perfectly with your video or animation. This article breaks down the essential gear and setup considerations to help you make smart production decisions.
Microphones: Picking the Right Type for Your Project
The microphone is the heart of your voice-over setup. Condenser mics are popular for their sensitivity and clarity, making them ideal for studio recordings with controlled acoustics. Dynamic mics are more rugged and handle louder voices or untreated rooms better. Ribbon mics offer a warm, natural tone but require careful handling and specific preamps. Avoid USB microphones for professional work—they often lack the audio fidelity and flexibility needed for high-quality production. Instead, invest in an XLR mic that pairs with a quality preamp or audio interface.
Audio Interfaces and Preamps: The Bridge to Your Computer
A microphone alone can’t connect directly to your computer with professional quality. That’s where an audio interface or mic preamp comes in. This device amplifies the mic signal cleanly and converts it to digital audio your computer can record. Look for interfaces with low noise, high-quality preamps, and reliable drivers. Features like headphone monitoring with volume control and phantom power for condenser mics are must-haves. A solid interface ensures your recordings are clean and free from distortion or latency issues.
Acoustic Treatment: Controlling Your Recording Environment
Even the best microphone can’t fix a noisy or echoey room. Acoustic treatment is critical to capturing clean voice-over audio. Avoid rooms with hard reflective surfaces like tile or glass. Use portable acoustic panels or foam to absorb reflections and reduce ambient noise. Whisper rooms or vocal booths offer an efficient, space-saving solution to isolate your talent and create a consistent sound. Proper acoustic treatment saves hours in editing and improves the natural tone of the recording.
Essential Accessories and Monitoring Setup
Don’t overlook the small gear that keeps your session running smoothly. Use sturdy mic stands appropriate for your microphone’s weight and setup. Pop filters prevent harsh plosives that can ruin takes. Have multiple XLR cables on hand in varying lengths to avoid interruptions. For monitoring, invest in closed-back headphones for the talent to prevent bleed and open-back headphones or studio monitors for the engineer to hear the true sound. Finally, a talkback mic lets the engineer communicate clearly with the talent without shouting, keeping sessions efficient and professional.
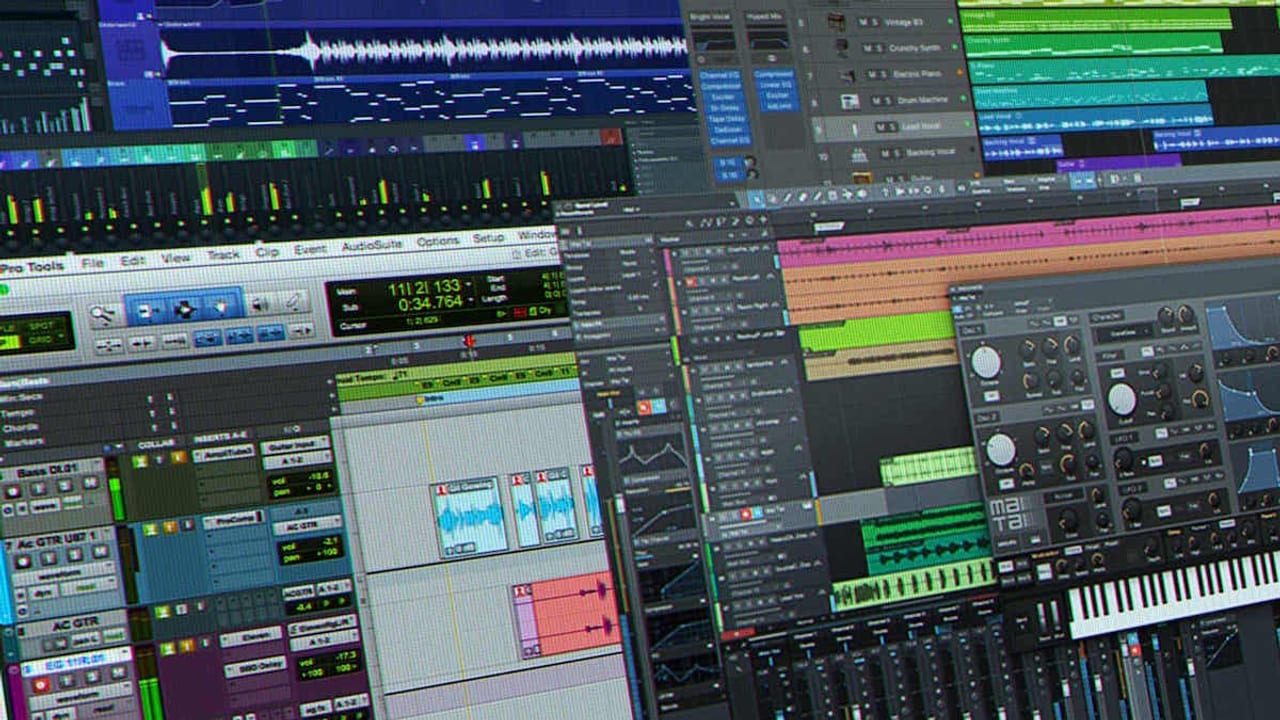
Software and Workflow: From Recording to Delivery
Choose a Digital Audio Workstation (DAW) that fits your workflow and budget. Popular options include Pro Tools, Adobe Audition, Logic Pro, and free tools like Audacity. Your DAW handles recording, editing, noise reduction, and exporting final audio files. Plan your session with clear naming conventions and backup strategies to protect your files. Coordinate with post-production early to confirm delivery specs and audio formats. A smooth workflow from capture to delivery minimizes revisions and keeps your project on schedule.
FAQ
Can I use a USB microphone for professional voice-over recording?
While USB microphones are convenient and affordable, they often lack the audio quality and flexibility required for professional voice-over work. Investing in an XLR microphone paired with a quality audio interface will provide cleaner, more versatile recordings suitable for high-end production.
How important is acoustic treatment when recording voice-overs?
Acoustic treatment is crucial. Without it, your recordings may capture unwanted echoes, background noise, and room reflections that are difficult to fix in post. Using acoustic panels, foam, or a whisper room creates a controlled environment that results in clearer, more natural voice recordings.
What should I look for in an audio interface for voice-over work?
Look for interfaces with low noise preamps, reliable drivers, phantom power for condenser mics, headphone monitoring with volume control, and multiple inputs if needed. These features ensure clean signal capture and smooth monitoring during recording sessions.
What should a team understand about Gear Needed to Record a Voice-Over?
The useful takeaway is how audience, creative direction, production choices, post-production, approvals, and delivery needs shape the final video plan.
Where should this kind of project start?
Start with the goal, audience, deadline, where the finished piece needs to live, and the practical constraints that will affect creative and production decisions.
How can ECG help with the next step?
ECG can help connect the creative idea to production planning, filming, post-production, versioning, and delivery so the finished work fits the channel and the audience.