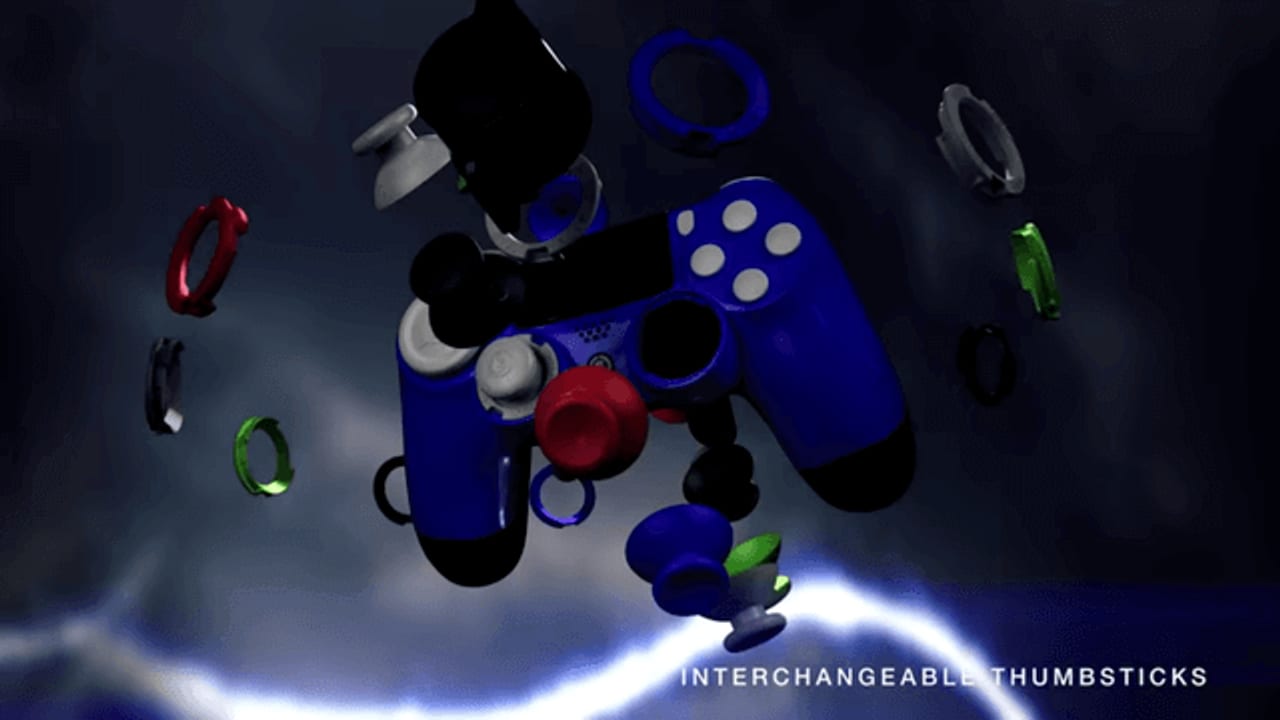
Discover how ECG Productions created the Scuf Infinity 4PS 3D animation using Autodesk Maya's Bifrost fluid simulation. Learn practical steps from modeling to Alembic caching for
Help readers understand how to plan, execute, and finalize a high-quality fluid simulation animation using Maya's Bifrost for complex product storytelling.
Why Fluid Simulation Elevates Product Animation
Fluid simulation adds a dynamic layer of realism and engagement to product animations, especially for brands like Scuf Gaming where tactile interaction and material quality are key. Instead of static renders, fluid effects like pouring, splashing, or flowing liquids create memorable visuals that communicate product features and user experience more vividly. But achieving this requires a clear production strategy, careful pre-production setup, and an understanding of simulation tools like Maya's Bifrost.
Step 1: Model and Animate Your Scene with Colliders
Start by building your 3D models and animations that will interact with the fluid. Colliders—objects that the fluid will bounce off or flow around—are essential. For the Scuf Infinity 4PS animation, this meant modeling the controller, the fluid source, and any containers or surfaces involved. Reference your animation into the fluid simulation scene so you can adjust fluid behavior without redoing the entire setup. This step ensures your simulation has a solid foundation and behaves realistically.
Step 2: Run Small-Scale Tests to Fine-Tune Simulation Attributes
Fluid simulations are resource-intensive. To avoid long waits and wasted renders, start with trimmed-down versions of your scene. Simulate a fraction of the final fluid volume over a short time to experiment with gravity, viscosity, and scale settings. This testing phase helps you understand how different attributes affect the fluid's look and motion, allowing you to make informed adjustments before committing to a full simulation run.
Step 3: Full Simulation and Playback Settings
Once your tests are dialed in, run the full simulation. Set Maya's playback preferences to "Play Every Frame" to ensure the simulation calculates every frame without skipping. Avoid starting the simulation on frame zero, a known Bifrost quirk that cancels the sim before it begins. Let the simulation run—this can take hours or days depending on complexity. Your first full sim likely won’t be perfect, so use it as a baseline to tweak parameters and improve results incrementally.
Step 4: Mesh Refinement and Visual Polishing
After simulating the fluid particles, convert them into a mesh to visualize the fluid surface. This meshing step is fast and responsive, so use it to refine the fluid’s appearance—smoothness, foam, and detail levels. The mesh is what your final renders will show, so invest time here to balance realism with render performance. For the Scuf animation, this meant achieving a believable fluid look that complemented the controller’s design without overpowering it.
Step 5: Alembic Caching for Efficient Workflow and Post-Production
Export your final fluid mesh as an Alembic cache (.abc file). Alembic files store simulation data efficiently and enable smooth playback and integration in compositing or editing software. When exporting, select the correct frame range and enable "write color sets" to preserve foam and motion vector passes. These passes are crucial for adding realistic motion blur and compositing effects in post-production tools like Nuke or After Effects.
Step 6: Lighting, Texturing, and Delivery
Simulation alone isn’t enough—lighting and texturing bring your animation to life. Use physically accurate shaders and lighting setups to highlight the fluid’s transparency, reflections, and refractions. For product animations like the Scuf Infinity 4PS, this means emphasizing material quality and brand colors. Finally, render your animation in the required formats and resolutions for your distribution channels, ensuring your client’s message is clear and visually compelling.
FAQ
What is Bifrost in Maya and why use it for fluid simulation?
Bifrost is Autodesk Maya’s built-in fluid simulation engine that uses a FLIP solver for realistic liquid behavior. It integrates seamlessly into Maya, allowing artists to create complex fluid effects without third-party plugins, making it ideal for detailed product animations.
How can I optimize simulation times when working with Bifrost?
Start with small-scale tests using reduced fluid volumes and shorter durations to adjust simulation parameters. Use playback settings like "Play Every Frame" and avoid starting on frame zero. Also, mesh only key frames during testing to save time before full simulation.
Why export fluid simulations as Alembic caches?
Alembic caches efficiently store simulation data, enabling smooth playback and easier integration into post-production workflows. They preserve important details like foam and motion vectors, which are essential for realistic compositing and motion blur effects.
What should a team understand about Behind the scenes of the Scuf Infinity 4PS 3D Animation?
The useful takeaway is how audience, creative direction, production choices, post-production, approvals, and delivery needs shape the final video plan.
Where should this kind of project start?
Start with the goal, audience, deadline, where the finished piece needs to live, and the practical constraints that will affect creative and production decisions.
How can ECG help with the next step?
ECG can help connect the creative idea to production planning, filming, post-production, versioning, and delivery so the finished work fits the channel and the audience.